How to Make Custom Holographic Stickers
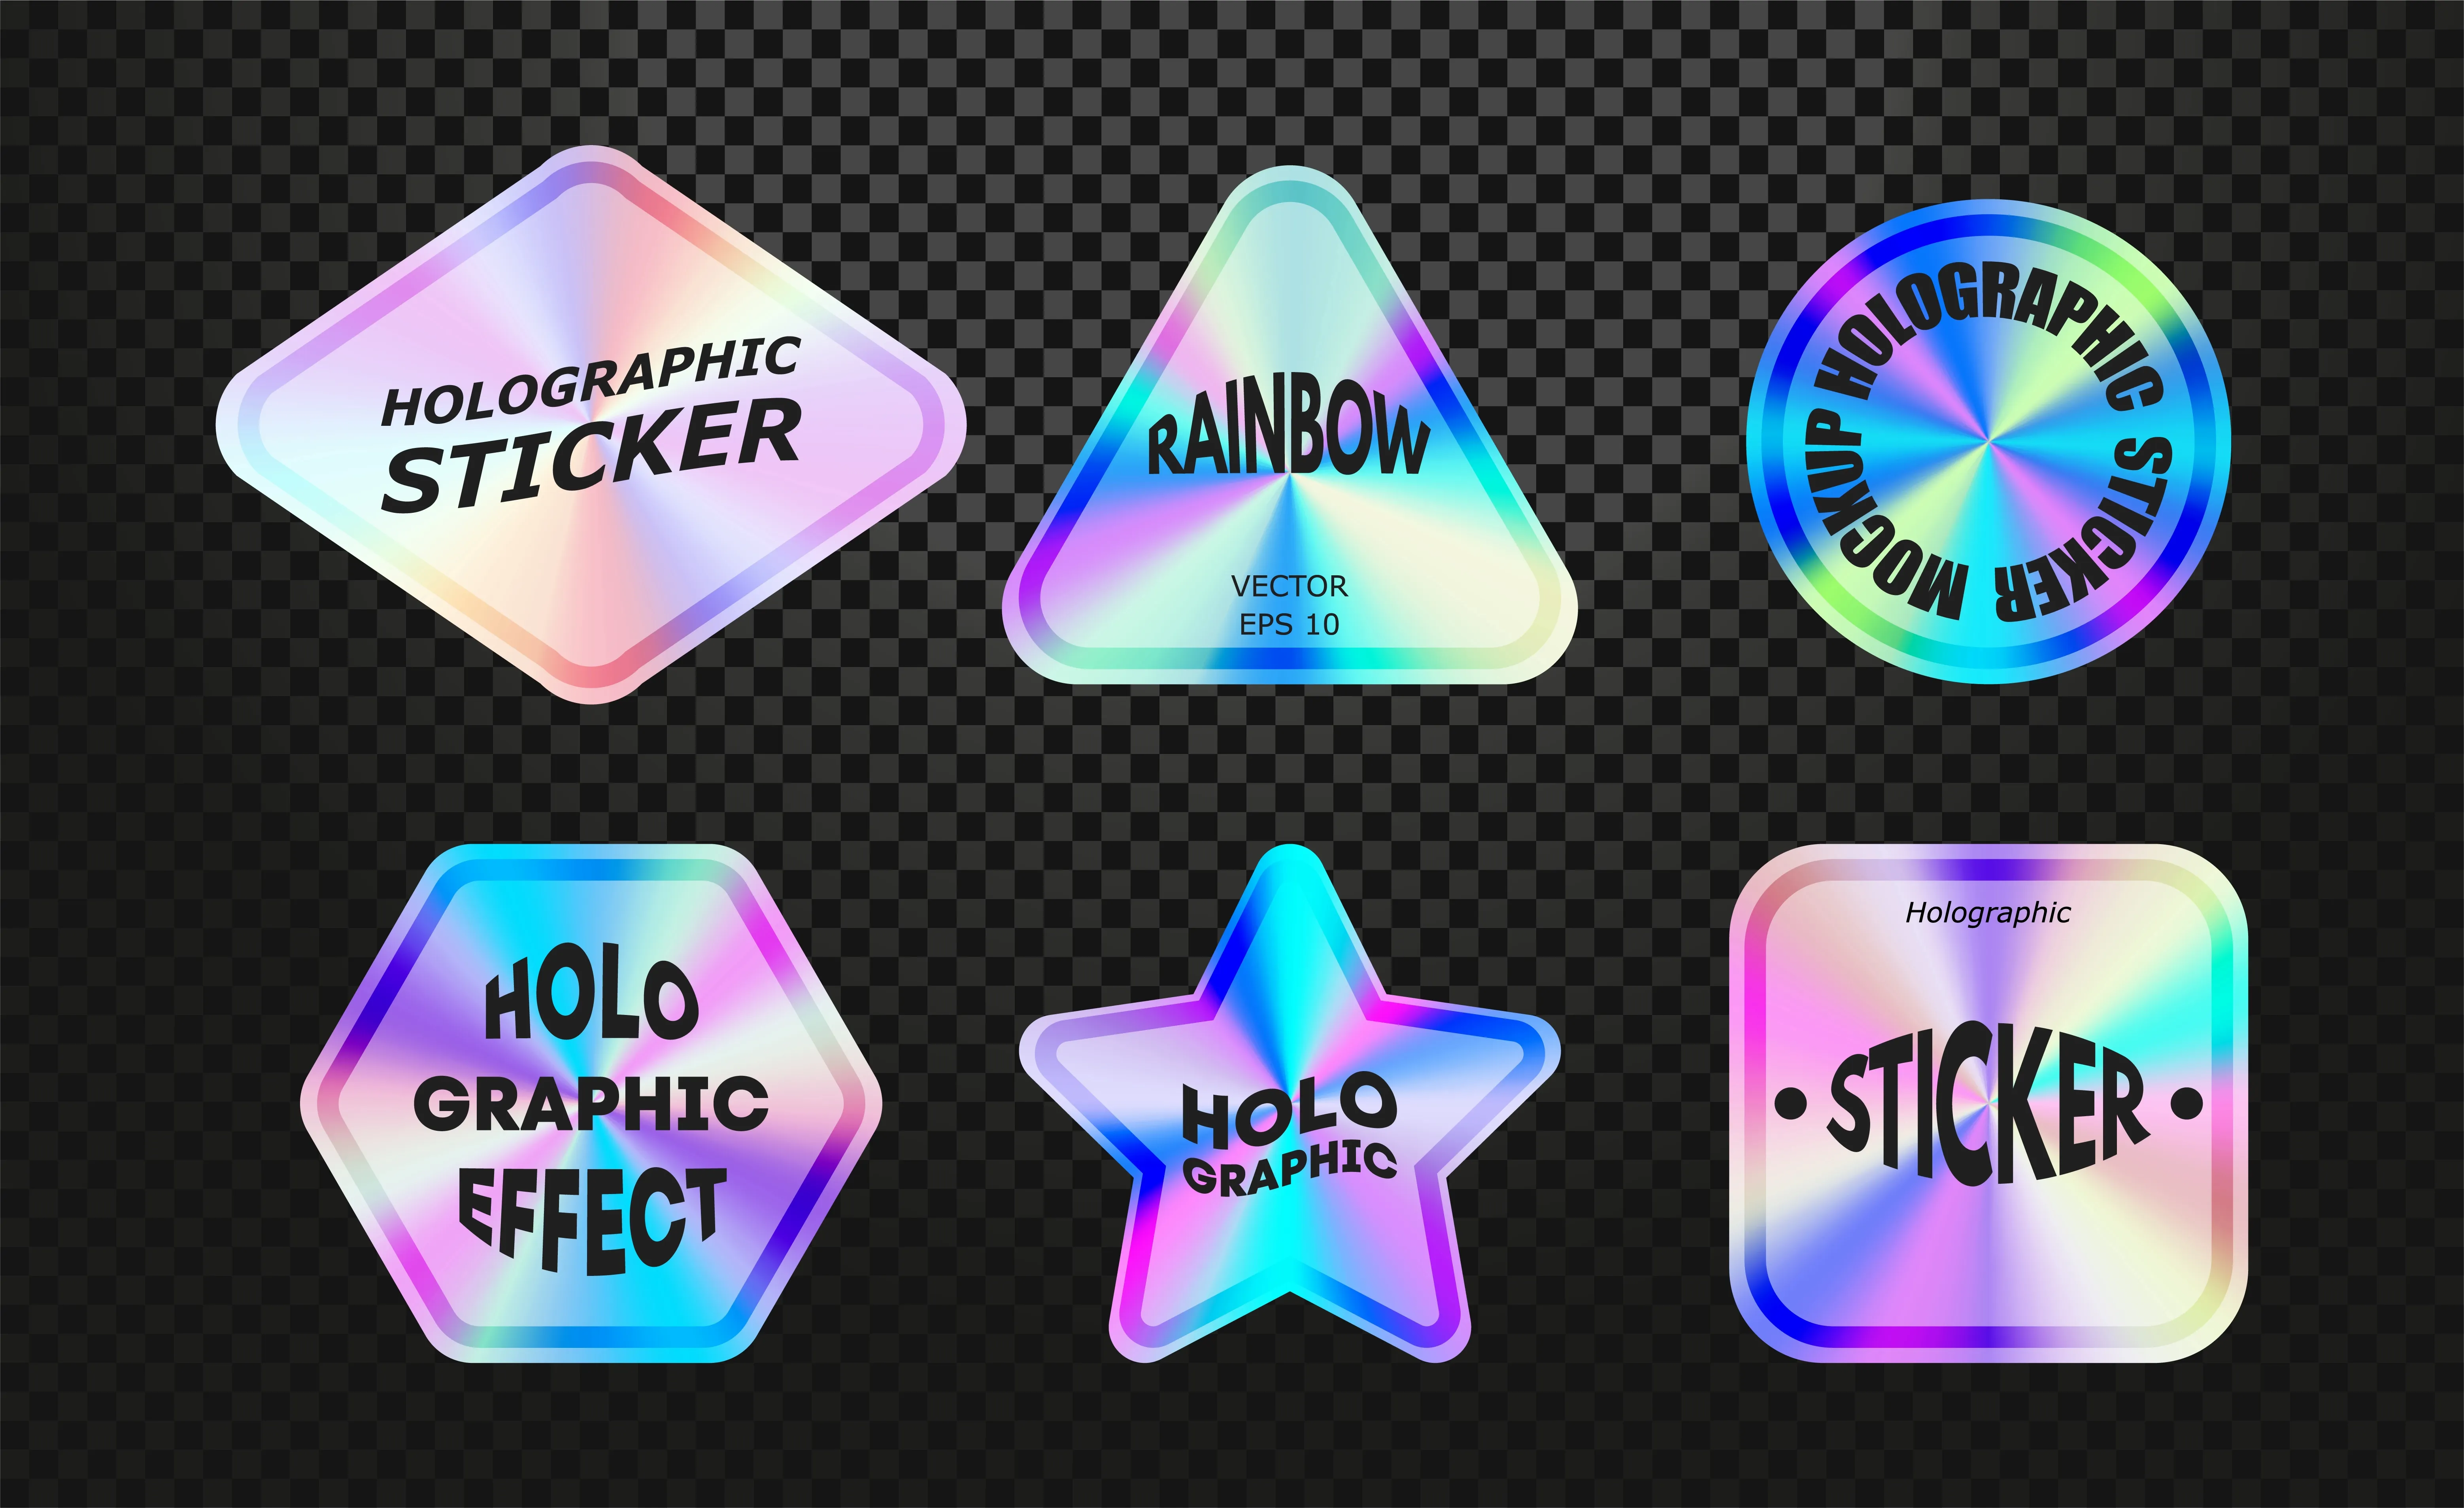
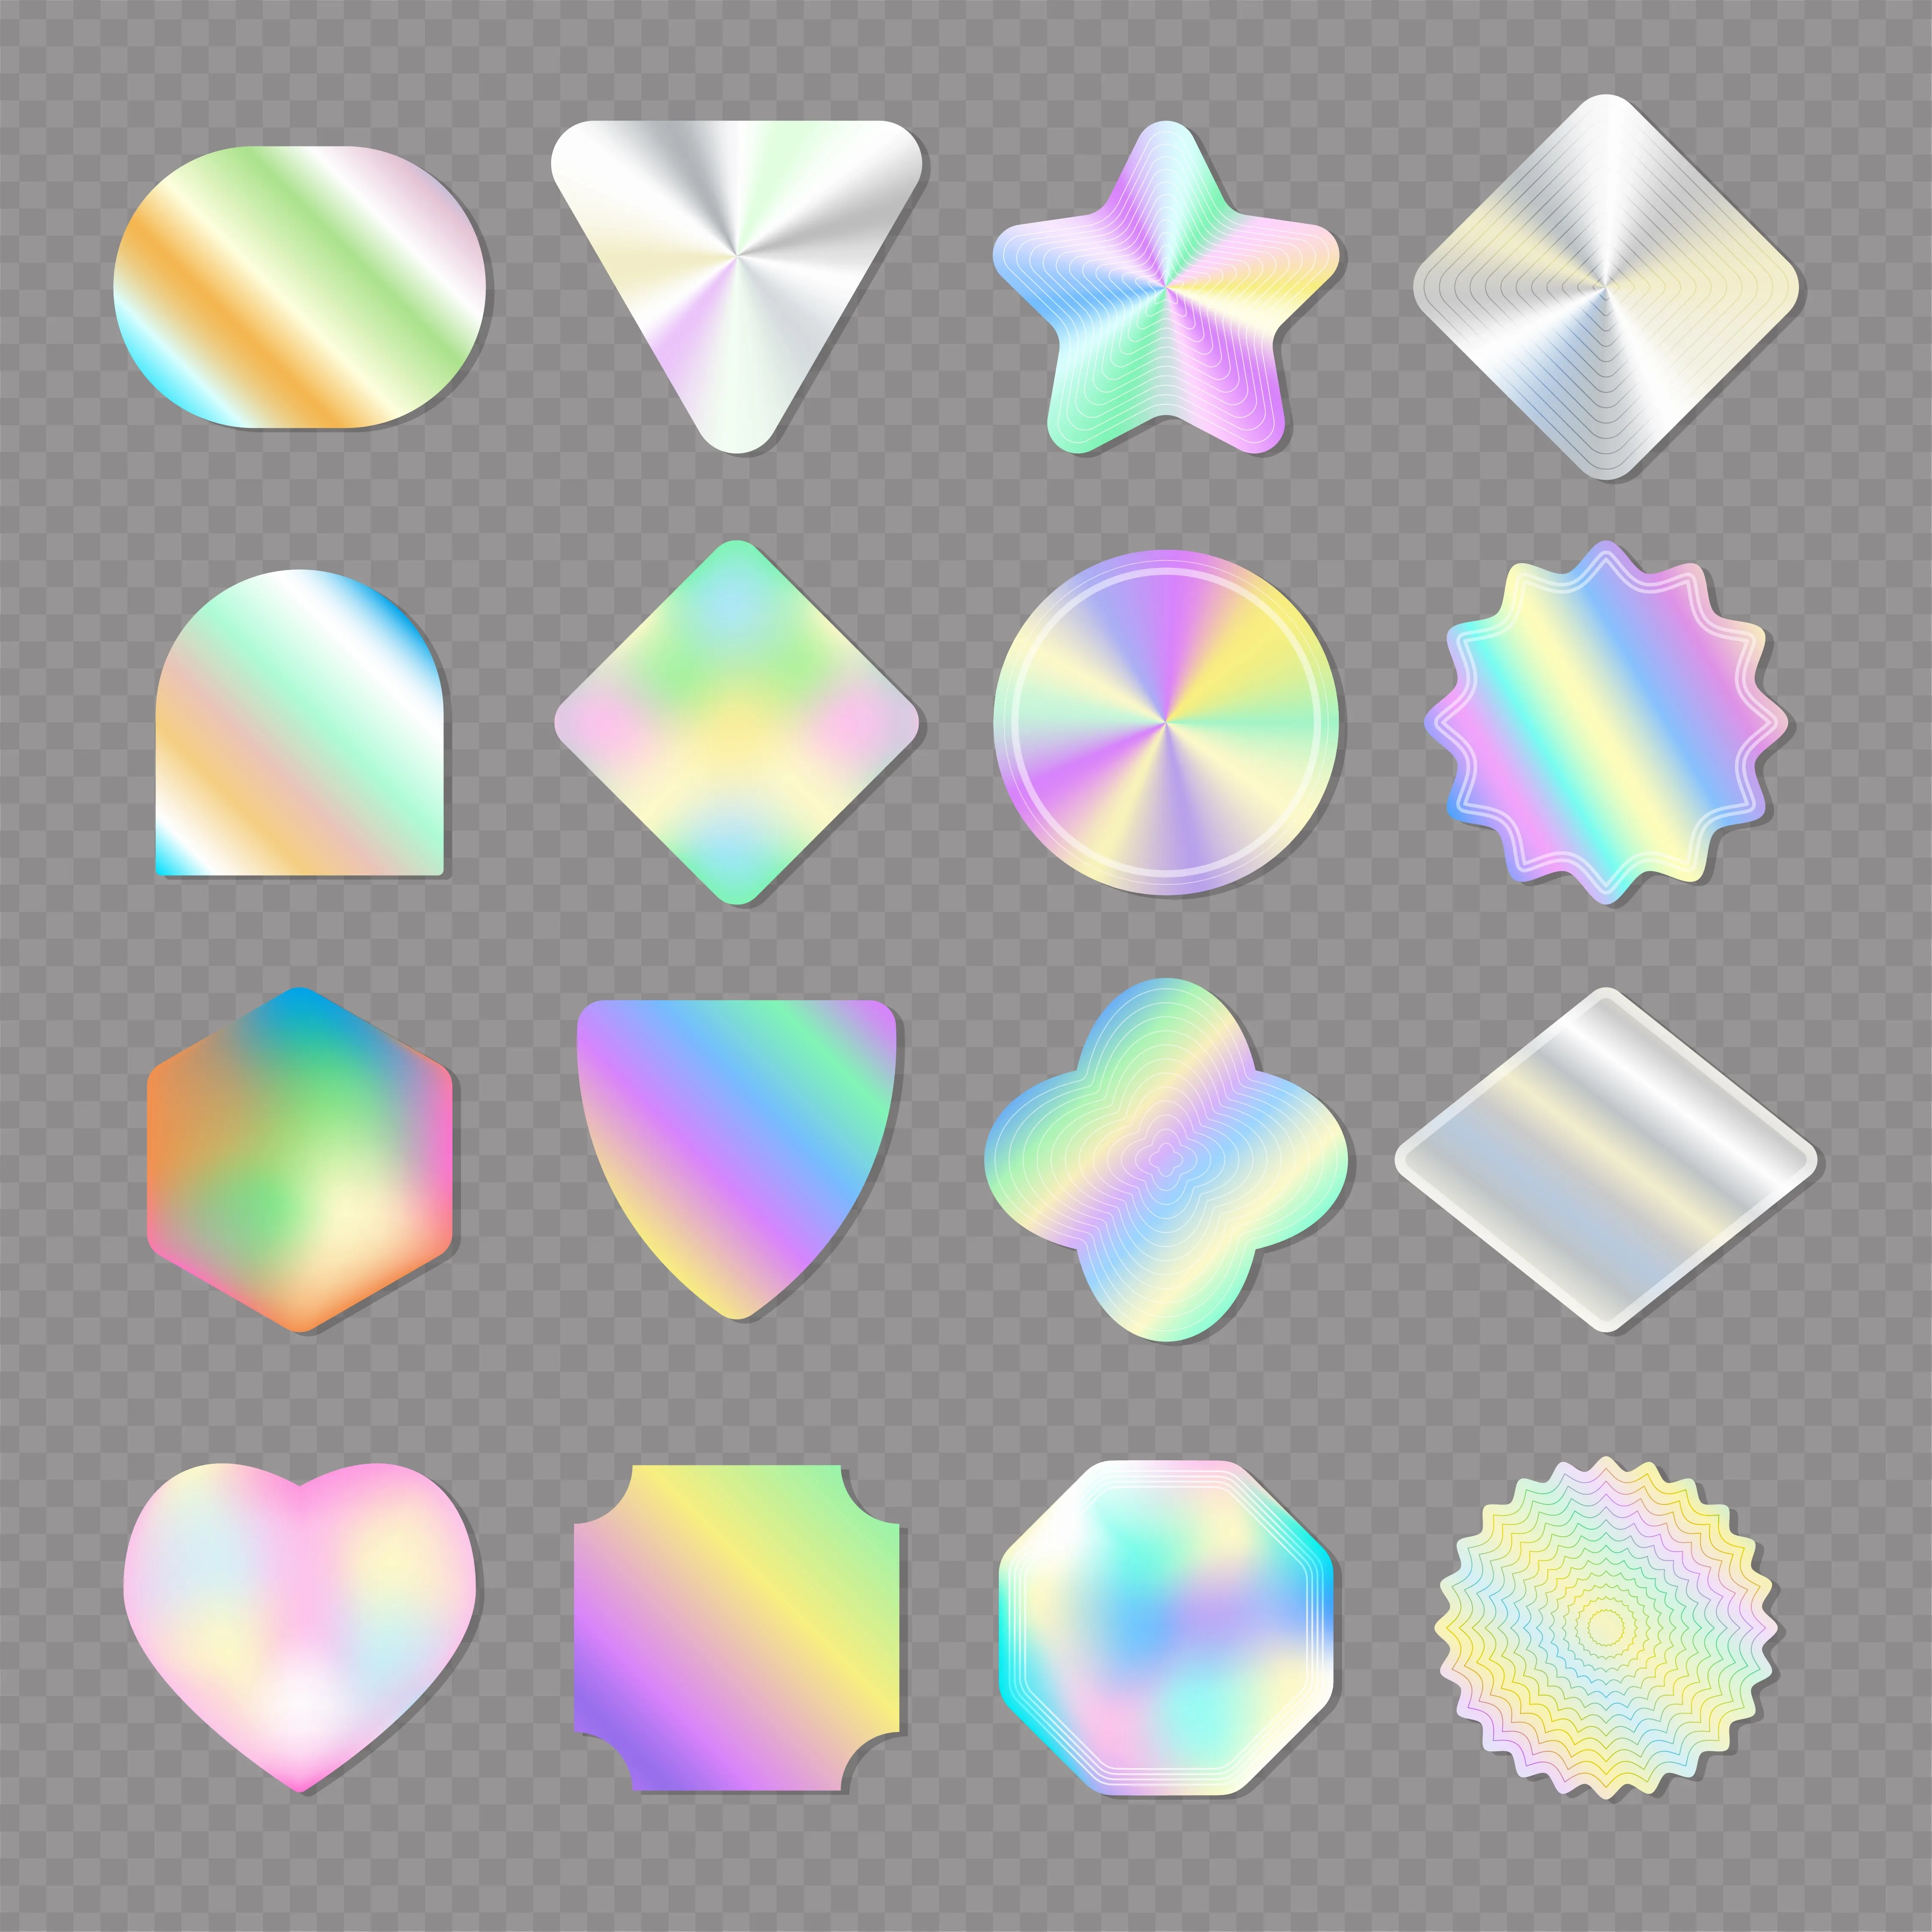
Custom holographic stickers are some of the prettiest around, with a distinctive, reflective effect that makes them shimmer and shine in the light. They almost look like little treasures or gems, and itÔÇÖs surprisingly easy to make them yourself. You just need to prepare the relevant supplies and equipment.
This guide will show you exactly how to make custom holographic stickers in your own home.

What Are Custom Holographic Stickers and How Are They Made?
Before we look at how to make your own custom holographic stickers, it’s important to begin with the basics. So, what are they? Well, as the name suggests, custom holographic stickers are customized stickers printed on a special kind of vinyl material that reflects light in a fun, colorful way.
While holographic stickers might seem more complicated compared to regular stickers, they’re not made in a vastly different way. In fact, the only big difference is the material – holographic stickers always have to be printed on special holographic material, which gives them their distinctive shiny properties. They’re also usually laminated for protection, before being cut into the desired shapes.

Everything You Need to Make Your Own Holographic Stickers
If you’d like to try making your own custom holographic stickers¸ you’ll first need to assemble the relevant supplies and devices. Here’s a quick checklist of everything you need to get started:
- Some printable holographic sticker paper (Note: You can also use regular matte sticker paper and holographic laminate sheets)
- A color printer
- A Cricut machine
- A laminator (optional)
You’ll also most likely need an app or some sort of software for creating your custom sticker designs on a computer or other device. Adobe Illustrator is one example, but there are plenty of other tools you could use.
How to Make Your Custom Holographic Stickers: Step-by-step
Once you’ve got all the gear and supplies, you can get started on making your own custom holographic stickers.
- Before you worry about printing or laminating, you need to actually design your stickers. Load up the app you want to work with and draw or generate your designs.
- Once the designs are complete, print them out onto either matte sticker paper or directly onto the holographic sticker paper, depending on which one you’re using.
With that done, you now have two options to finish off your stickers. One of them involves a laminator, and the other doesn’t.
The laminator method, for those using foil-on sheets:
- Use the Circut machine to cut the sticker shapes.
- Fold a piece of printer paper and put the sticker shapes inside.
- Cut some hollow laminate and place that over the top of the stickers.
- Fold the paper to cover everything up.
- Put the paper through the laminator, beginning at the folded end.
- Repeat the lamination process a second time, just to make sure everything adheres correctly.
The non-laminator method:
- Place the self-adhesive laminate onto your sticker sheet.
- Cut the laminate to an appropriate size.
- Use the Cricut machine to precisely cut each individual sticker.

Tips and Tricks to Make Your Stickers Shine
The first time you make holographic stickers, you might be a little disappointed with the final result. They might not pop or glow as you imagined. Fortunately, there are a few secret tricks that can give your stickers the “wow factor.”
- Leave Gaps: Yes, it might sound odd, but leaving parts of your design empty is the best way to make the most amazing holographic stickers. Why? Because the holographic vinyl will fill-in those empty spaces, giving them a rainbow of shiny colors.
- Use a Colored Background While Designing: So, you need empty spaces to make your designs pop. But working with empty spaces on your design app can make it tricky to visualize or imagine how your stickers might look. To remedy this, use a bright colored background – that’ll make it so much easier to truly see your design.
- Use Lighter Colors: Lighter colors work best for letting the effect of custom holographic stickers shine. So, if your design is quite dark, consider adjusting some of the colors or toning up the saturation.
- Use Black and White to Define Your Shapes: Most colors, like red and green, will blend with the holographic effect a little. However, black and white will block it completely. Those two colors are therefore useful for forming the outline and key parts of your design.
A Simpler Method: Use Custom Stickers Now
If all of that sounds a little too complicated, costly, or time-consuming, there is an easier way to make custom holographic stickers. Just use Custom Stickers Now! At Custom Stickers Now, we offer custom sticker designing and printing, including holographic designs.
All you have to do is follow our simple process:
- Pick your sticker type.
- Enter your desired quantity and size.
- Select a finish type.
- Customize your stickers with your own artwork, text, or logos.
- Pick a guaranteed delivery date.
That’s it! From there, we’ll do the hard work for you, creating your custom holographic stickers to order, exactly as you desire. Here are just a few reasons to work with Custom Stickers Now:
- Complete Customization: We give you total freedom to customize stickers however you like.
- So Simple: We do all the hard work on your behalf.
- Best Value: We offer fair, affordable prices, with big discounts if you order in bulk.
So, what are you waiting for? If you’re looking for the easiest and fastest way to get custom holographic stickers in any color, size, or style, visit Custom Stickers Now and follow our simple five-step process to create your own.